
Uploading and selling Blender assets on Superhive
This article walks through the whole process of publishing Blender assets to Superhive, from the .blend file on your machine to something customers receive when they buy from you.
1. Create an asset library
A library is a container you own. Nothing about it is for sale yet, and it doesn't have to line up with any one product. Your asset library can be attached and sold with one or many products, and even individual assets within a library can be sold with a product.
Go to Creator Dashboard → Asset Libraries → New Library, give it a name and a description, and save.
2. Upload your file
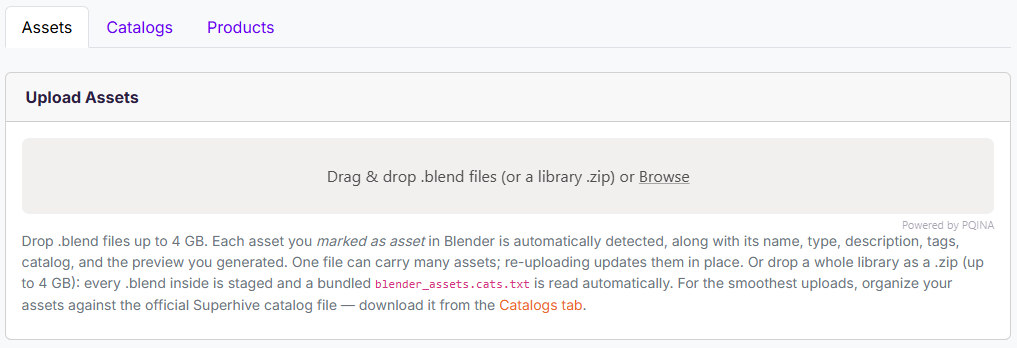
On the newly created library simply drop a file onto the Upload Assets panel. You can upload .blend files or .zip files, each limited to 4GB. There is no limit to the number of files nor the number of assets you can upload to a libray. One .blend can contain many assets or you can have a single asset per .blend. We will automatically detect everything you marked as an asset in Blender, along with its name, type, description, tags, catalog, and the preview thumbnail you generated.
Tip: spend the time to create great thumbnails for your assets as these are what customers will see. If don't provide a thumbnail we will render one for you but it's likely to be ugly and isn't fair to your asset.
If you have a prepared blender_assets.cat.text file then we recommend compressing everything into a single zip such that the bundled catalog file is automatically detected. Alternatively you can upload your catalog file on the Catalogs tab of the library edit page.
Upon upload we open the file in a copy of Blender running on our servers to scan it for your assets.
3. Wait for the scan
Once we've opened your file, which happens fast, we detect every marked asset, save each one to it's own small self-contained file, grab the metadata, and extract the thumbnail (or render one if not provided). You'll see all of this happen with regular page updates, no refresh necessary.
Small files scan in seconds while a large could take a couple of minutes. If the scanner is busy, your upload will simply wait its turn rather than failing; it will still say "scanning".
4. Review what was found
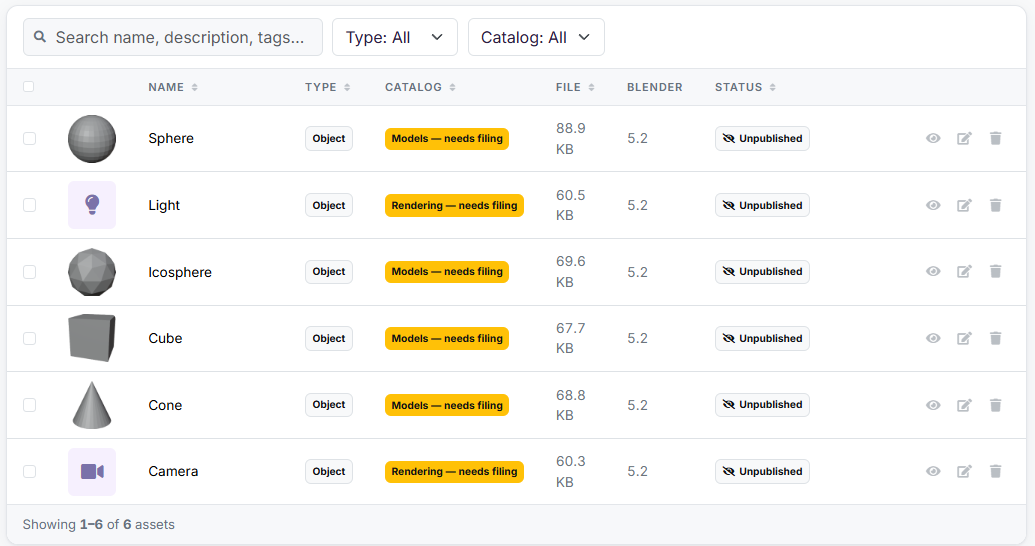
When the scan finishes, one row appears per asset. The assets are not live yet, they start unpublished so that you can review them. The original file you uploaded has done its job and is discarded; each asset now has a file of its own, with packed dependencies.
Uploading a newer version of the same source file later will update any matching assets in place rather than creating duplicates. Each asset must have a unique name per library, just like Blender. Renaming an asset in Blender and re-uploading will treat it a new asset, not an edit of the old one.
What a scan can come back as
If a scan files it's likely due to one of these four reasons:
| Outcome | What it Means | What to Do |
| We couldn't read it
|
The file is damaged or nothing in it was ever marked as an asset in Blender. | Mark your assets in Blender and then upload again. |
| Saved in a newer Blender | Your file comes from a version of Blender we don't yet support. | Let us know which version you're using and we'll do our best to support it. We always rely on the current LTS Blender version, at minimum. |
| This would replace existing assets | Some of the assets in this file already exist in the library. | Confirm to update existing assets with the version in your uploaded file or cancel to discarded the duplicate upload, leaving the library untouched. |
| Nothing changed | The uploaded file is a byte-for-byte identical copy to one already uploaded to this library. | Nothing. We skip the duplicate since it's identical to one previously added to the library. |
5. File your assets into catalogs (e.g. categories)
Once a scan is complete you need to tell us where to file it in the centralized Superhive catalog.
In the near future customers will be able browse one consistent category tree, so every asset also needs a place in the Superhive categories.
If you did not upload an existing catalog file, and didn't categorize your assets within Blender then you can file assets into catalogs by selecting one or more assets and clicking Set catalog.
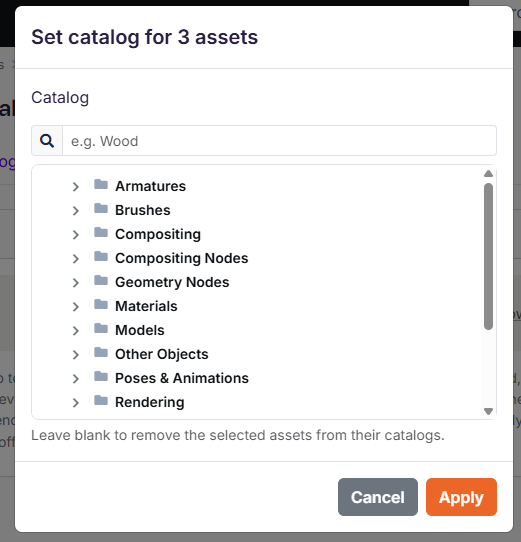
Alternatively, if your assets came with a catalog then open the Filing tab and assign Catalogs to the assets that need it. This let's you match your catalogs to our shared catalog.
You can skip this step entirely by downloading the Superhive catalog file from the Filing tab and marking your assets against it in Blender before you upload. If you can't find an appropriate catalog entry for your assets let us know by emailing [email protected]
6. Publish
All assets require your explicit approval before they're published, and thus available to customers. A successful upload and scan never publishes anything on its own. Three things have to be true before an asset can go live:
- It has a usable file
- It has been assigned to a catalog
- We know the minimum Blender version it works in, usually automatically detected from the file
Once the criteria for publishing is meant you can simply select the assets, individually or in bulk, and click Publish.
However, published assets are not discoverable by customers (that's coming later) unless they're attached to a product.
7. Attach the library to a product
This is the step that turns a library into something customers can purchases. You can attach individual assets or entire libraries to products.
To attach the whole library to a product navigate to the Asset Library > Products tab and choose the product (and optional variant) you wish to attach. All customers of that product will automatically get the assets included.
If your product is sold with a Support Period then customers will receive assets that were added to the library up until their expiration. Any assets added to the library after their expiration will require extending their support period in order to access.
If you prefer instead to attach an individual asset, rather than the whole library, then you can do this by navigating to the Product > Edit > Files & Assets tab to then choose individual assets (you can also attach full libraries here).
At any time you may also detach assets/libraries from a product; customers will immediately lose access to those assets.
Your asset library is now discoverable by customers and will receive a badge and callout on the product page to show the assets: 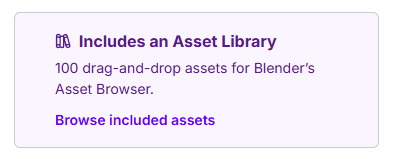
Customers can also browse products with asset libraries here: https://superhivemarket.com/asset-libraries
Migrating products you already sell
If you have years of products on Superhive, you don't have to re-upload anything. We've built a migration tool that helps you move your existing files over to Asset Libraries. Check out that guide here.